 Book Strategy Call
Step 1: Signing Up for Shopify
Creating your Shopify account is the first step toward launching your online store. The process is straightforward but requires some important decisions about your trial and initial settings.
Creating Your Shopify Account
- Go to Shopify.com and click on the "Start free trial" button.
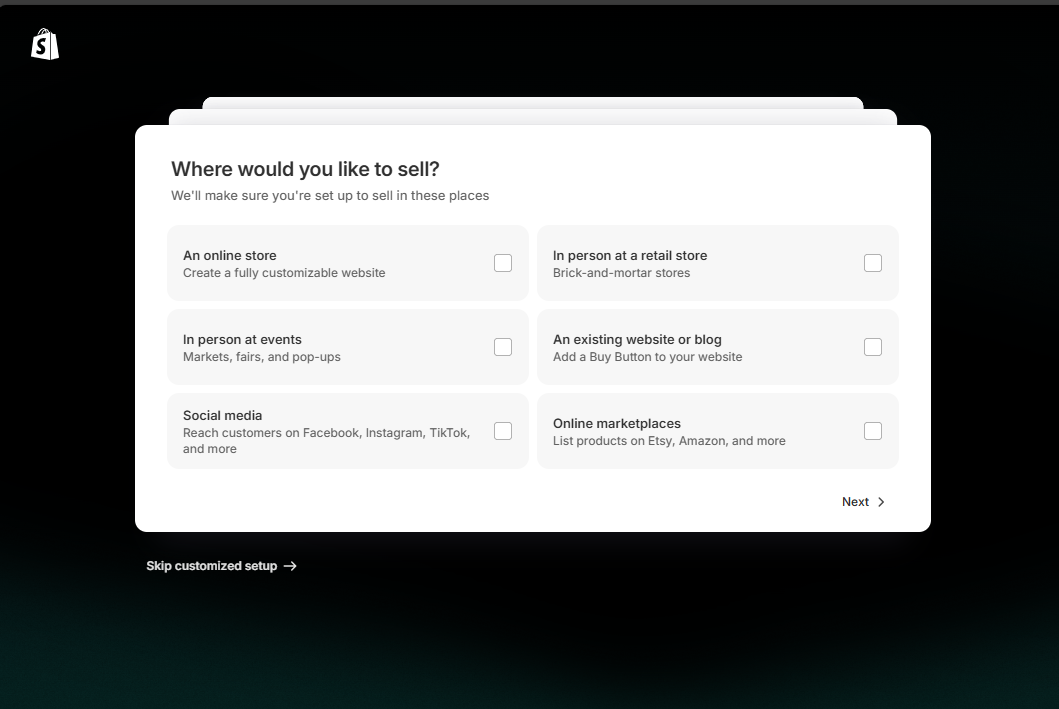
- Enter your email address, password, and store name. Your store name will be used to create your default URL (
yourstore.myshopify.com) but you can purchase a custom domain later. - Answer a few questions about your business (these help Shopify customize your experience):
- Are you already selling?
- What's your current revenue?
- What industry are you in?
- Enter your name and address to set up your store.
Pro Tip
Choose a store name that's memorable and reflects your brand. Don't worry if your perfect domain isn't available yet - you can always use a different domain name than your store name.
Understanding Shopify's Trial Period
Shopify offers a 14-day free trial that gives you full access to the platform without requiring a credit card. During this period:
- You can set up your entire store
- You can add products and customize your theme
- You cannot process payments or launch your store publicly until you select a paid plan
Important Note
Make the most of your trial period by having your product information, images, and business details ready before you start. This will allow you to fully set up your store within the trial period.
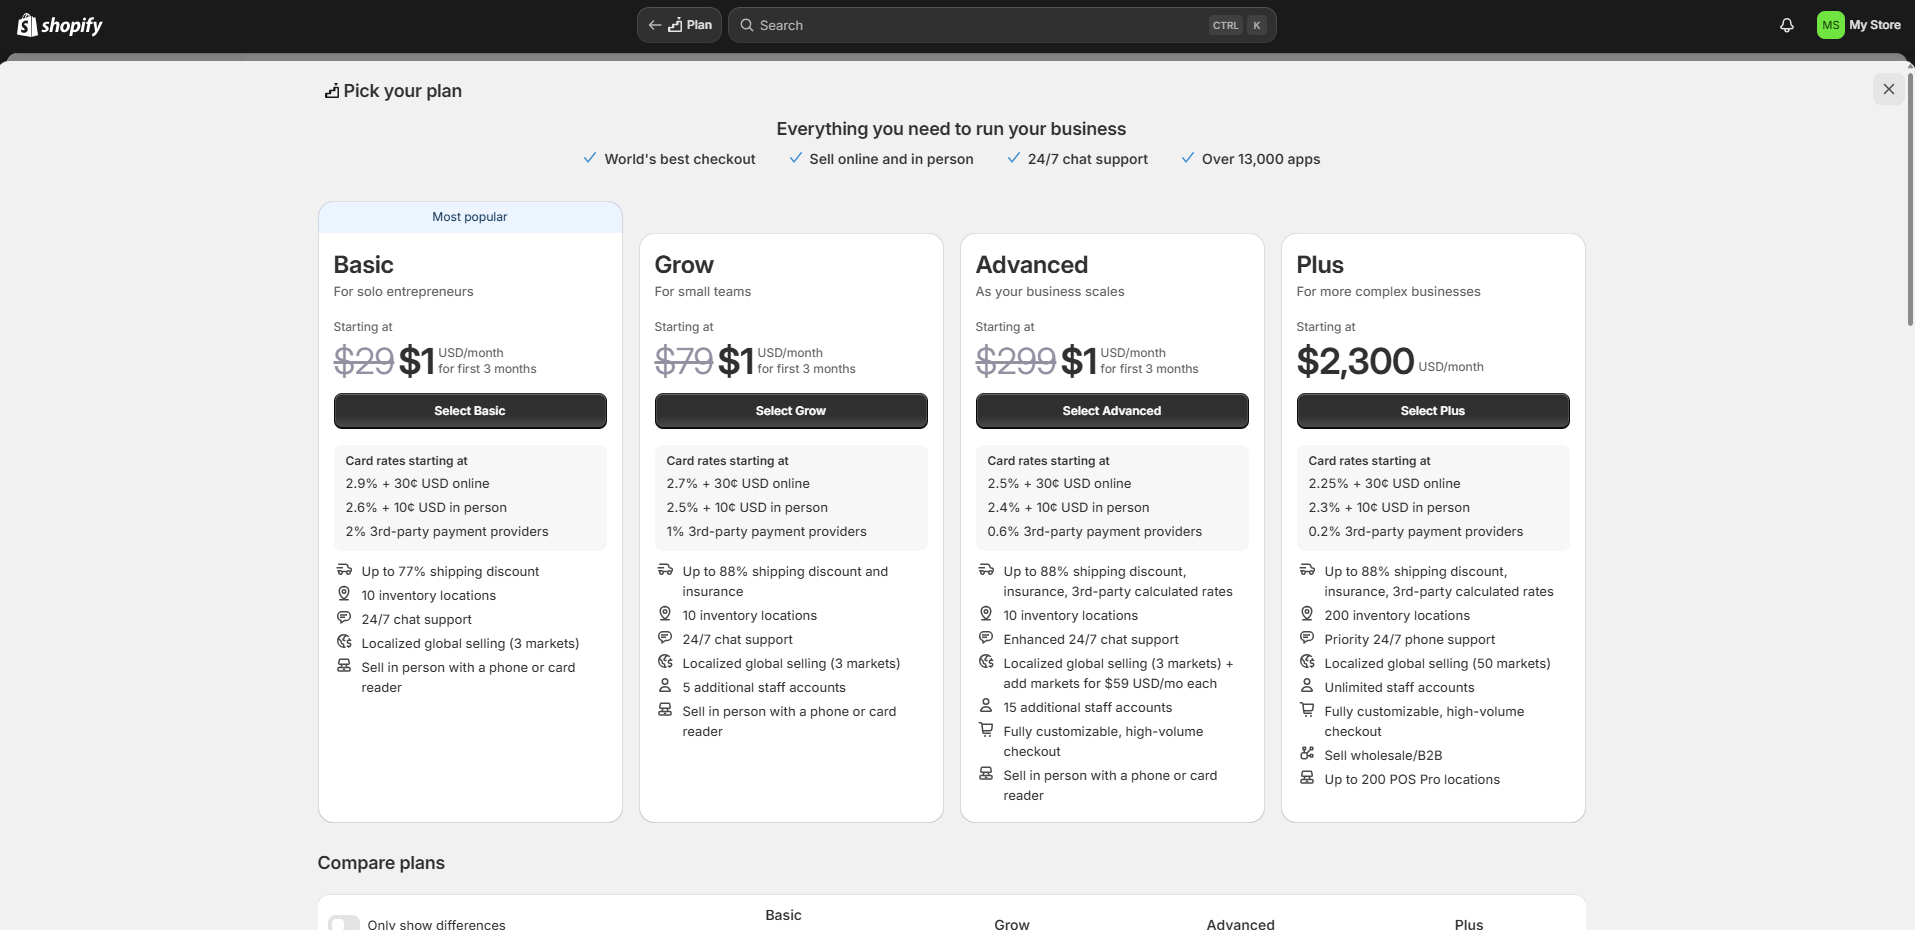
Shopify Pricing Plans (2025)
While you can start with the free trial, you'll eventually need to choose a plan:
| Plan | Price | Best For |
|---|---|---|
| Basic | $39/month | New businesses starting to sell online |
| Shopify | $105/month | Growing businesses selling online or in-store |
| Advanced | $399/month | Scaling businesses that need advanced reporting |
First Steps After Signing Up
Once your account is created, you'll be taken to your Shopify admin dashboard. Take these first steps:
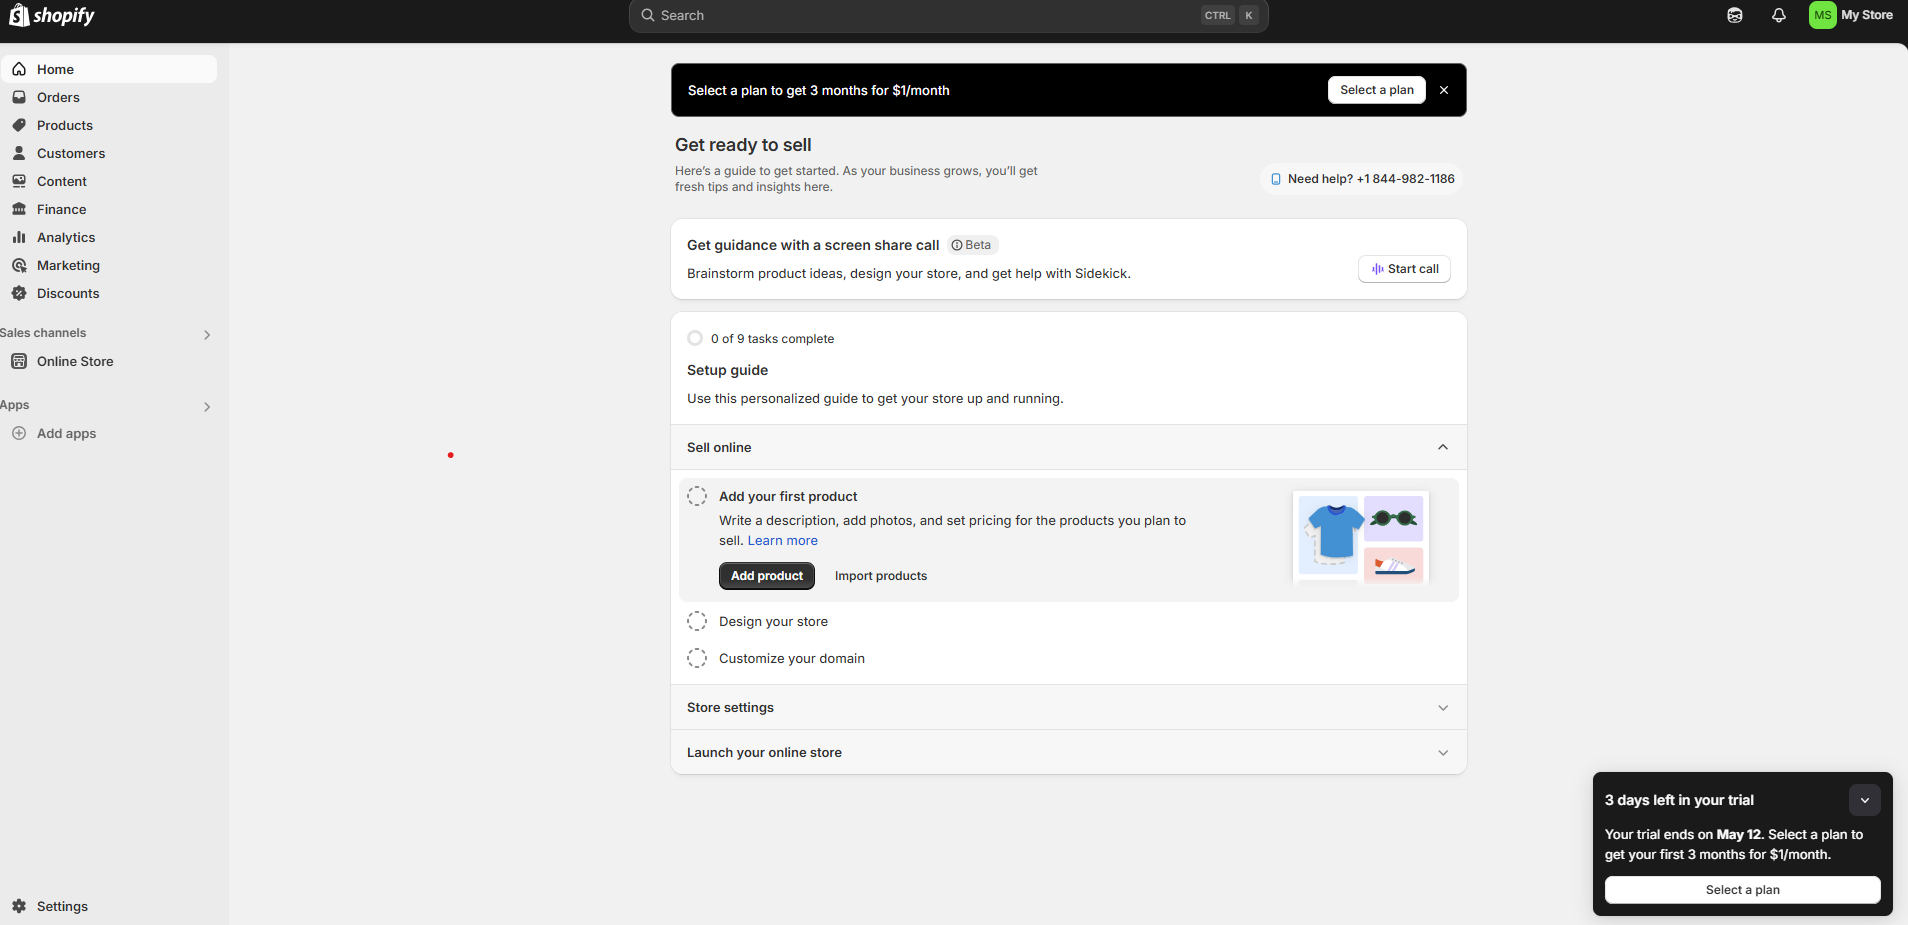
Step 2: Basic Store Setup
With your Shopify account created, it's time to configure the fundamental settings of your store. These settings form the foundation of your e-commerce business.
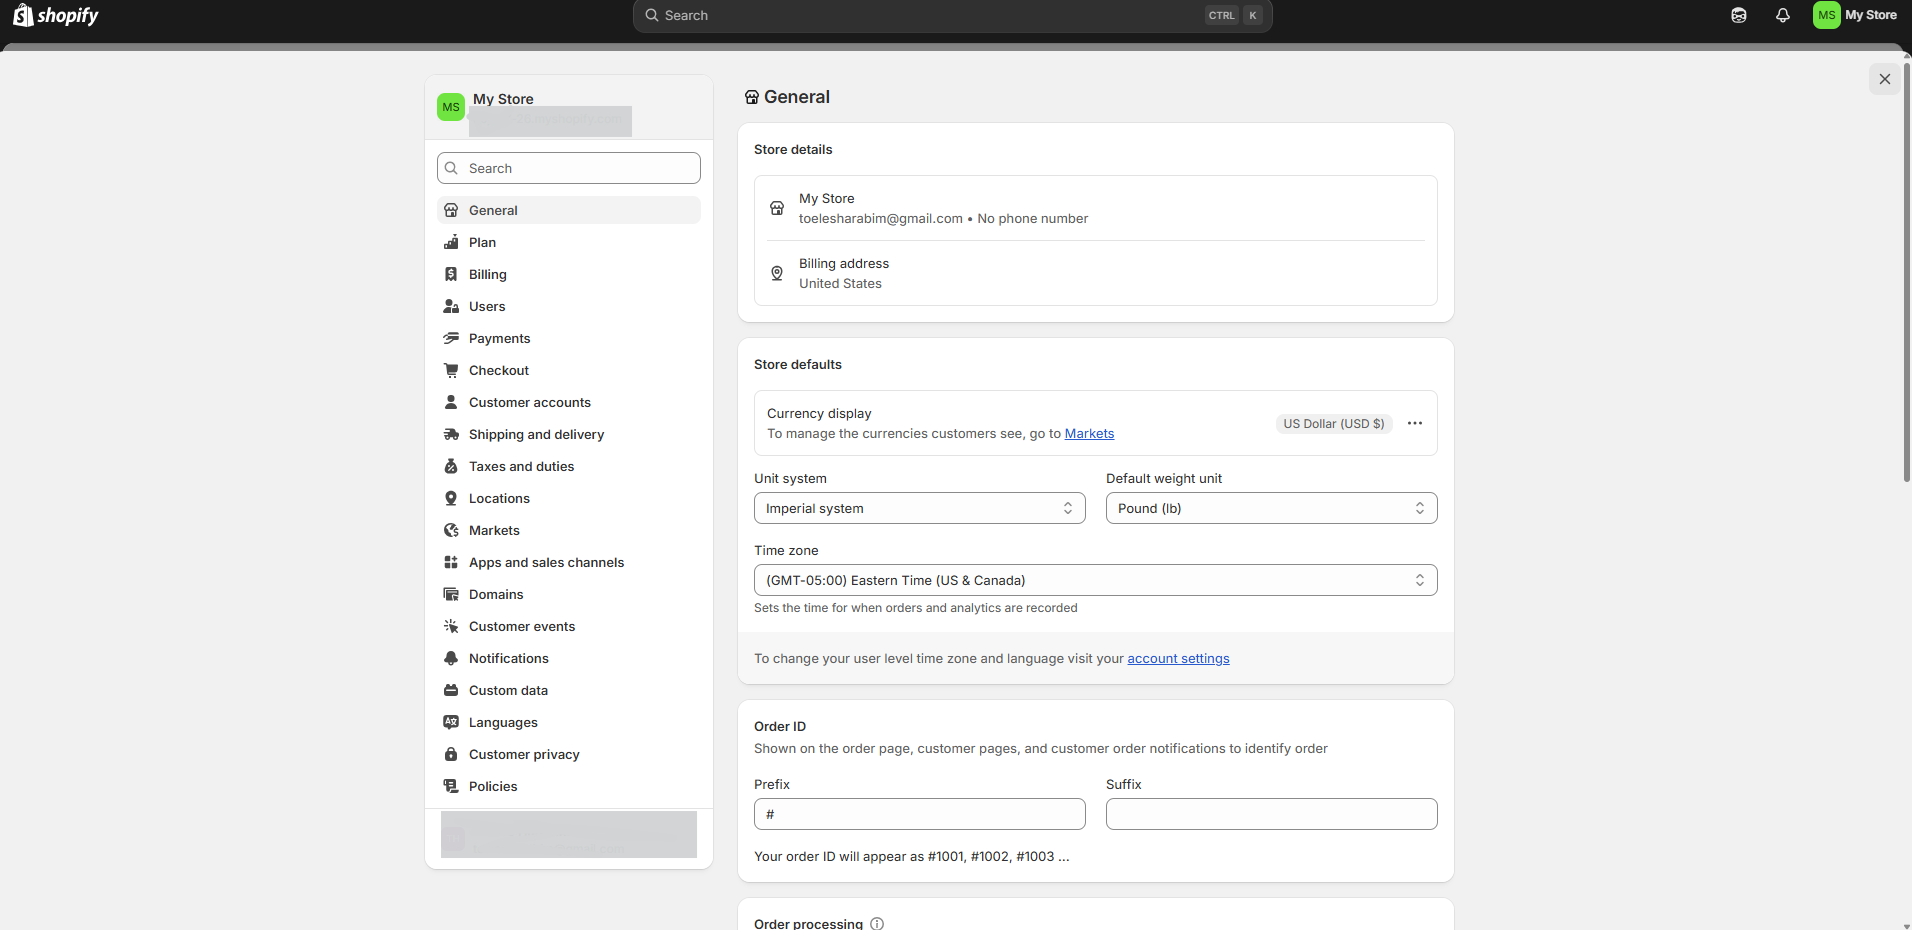
General Settings
Navigate to Settings (bottom left of your admin panel) to configure these essential store details:
- Store details: Complete your legal business name, address, and contact information.
- This information appears on your invoices and order confirmations
- Set your store's timezone and unit system (metric/imperial)
- Standards and formats: Configure your currency, weight units, and date formats.
- Store language: Set your primary language and add additional languages if you plan to sell internationally.
Setting Up Your Domain
A professional domain name gives your store credibility. You have three options:
- Use the free myshopify.com domain: Your store will be available at yourstore.myshopify.com
- Buy a new domain through Shopify:
- Go to Online Store → Domains
- Click "Buy new domain"
- Search for available domains
- Complete purchase (typically $11-$14/year)
- Connect an existing domain:
- Go to Online Store → Domains
- Click "Connect existing domain"
- Follow the instructions to update DNS settings at your domain registrar
Pro Tip
Choose a domain name that's easy to spell, memorable, and ideally contains keywords related to your business. Shorter domains are generally better.
Setting Up Legal Pages
Every e-commerce store needs certain legal pages to comply with regulations and build customer trust:
Your privacy policy should explain how you collect, use, and protect customer data. Shopify provides a template you can customize:
- Go to Settings → Legal
- Click "Create from template" next to Privacy Policy
- Customize the template to match your business practices
- Save the page
Your terms of service outline the rules for using your website and purchasing products:
- Go to Settings → Legal
- Click "Create from template" next to Terms of Service
- Customize the template to match your business policies
- Save the page
A clear refund policy builds customer confidence:
- Go to Settings → Legal
- Click "Create from template" next to Refund Policy
- Customize the policy to reflect your business's return and refund terms
- Save the page
Important Note
While Shopify provides templates, you should consider consulting with a legal professional to ensure your policies comply with all applicable laws in your jurisdiction, including GDPR for European customers or CCPA for California residents.
Setting Up Your Store's Contact Information
Make it easy for customers to reach you:
- Create an "About Us" page that tells your brand story
- Set up a "Contact" page with:
- A contact form
- Email address
- Phone number (if available)
- Physical address (if relevant)
- Social media links
- Configure your email settings for notifications and customer communications
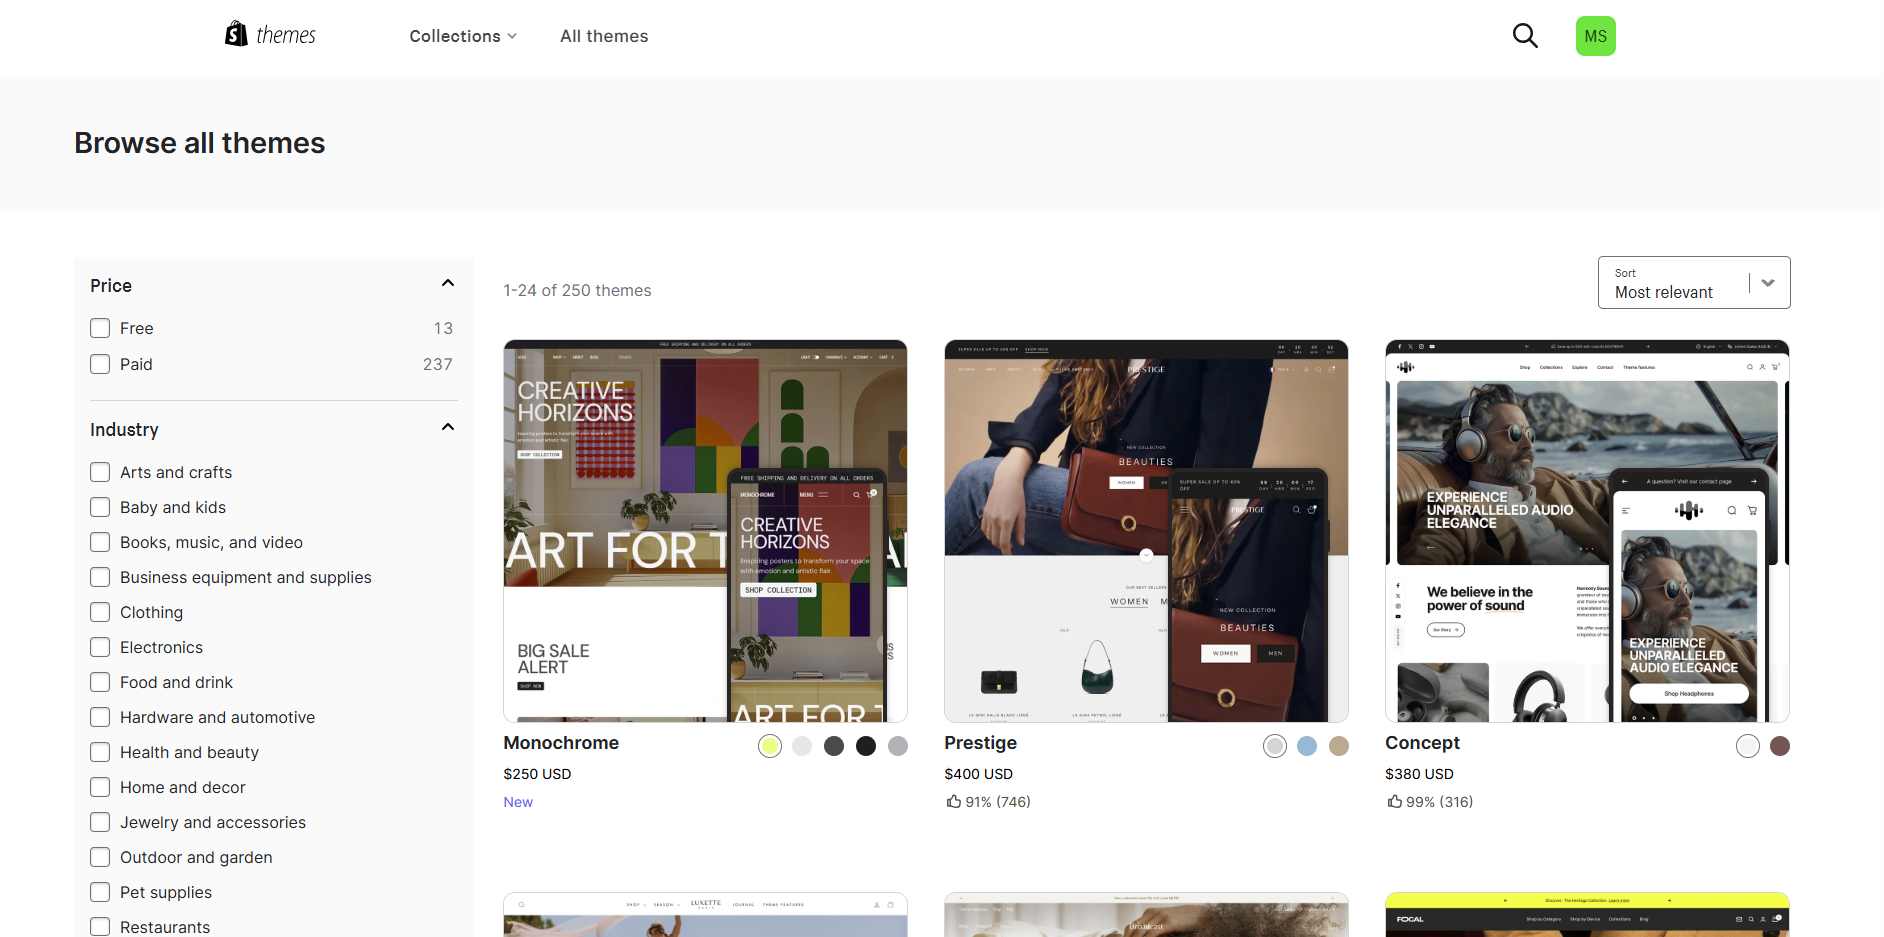
Step 3: Selecting and Customizing Your Theme
Your store's theme determines its visual appearance and user experience. Shopify offers a range of free and premium themes that you can customize to match your brand identity.
Choosing a Theme
Shopify's themes are professionally designed and optimized for conversions. Here's how to select one:
- Go to Online Store → Themes in your Shopify admin
- Click "Explore free themes" or "Visit Theme Store" for premium options
- Browse themes by industry, catalog size, or layout style
- Preview themes to see how they look with products similar to yours
- When you find a theme you like, click "Add to theme library" (free) or purchase it (premium)
Pro Tip
When selecting a theme, prioritize mobile responsiveness, loading speed, and features that match your specific business needs (like product zoom, video support, or mega menus for large catalogs).
Customizing Your Theme
After adding a theme to your library, you'll want to customize it to match your brand:
- From your Themes page, click "Customize" on your chosen theme
- In the theme editor, you can modify various elements:
- Header: Upload your logo, adjust navigation menus
- Homepage: Add slideshow images, featured collections, testimonials
- Footer: Add links to important pages, social media, newsletter signup
- Typography: Change fonts and text styles
- Colors: Set your brand color scheme
- Product pages: Customize layout and display options
- Use the preview mode to see how your store looks on desktop and mobile devices
- Click "Save" frequently as you make changes
Essential Pages to Create
Beyond the default pages, consider creating these important pages:
Your homepage is your store's first impression. Include:
- Hero banner with compelling headline and call-to-action
- Featured products or collections
- Value proposition (what makes your store unique)
- Social proof (reviews, testimonials)
- About section with your brand story
Create a compelling brand story:
- Your origin story and mission
- Introduce team members
- Share your values and what makes your products special
- Include high-quality images that represent your brand
Answer common customer questions to reduce support inquiries:
- Shipping and delivery information
- Return and exchange process
- Product care instructions
- Sizing guides (if applicable)
- Payment methods accepted
Advanced Theme Customization
If you need more extensive customization beyond what the theme editor allows:
- Edit theme code: Click "Actions" then "Edit code" to access theme files
- Liquid is Shopify's templating language
- Use HTML, CSS, and JavaScript to make advanced changes
- Use apps: Install Shopify apps that add functionality without coding
- Hire an expert: Consider a Shopify Expert for complex customizations
Important Note
Always duplicate your theme before making code changes. This gives you a backup in case something goes wrong with your customizations.
Step 4: Adding Products to Your Store
Products are the core of your online store. Setting them up properly with detailed information and compelling images is crucial for conversion.
Adding Your First Product
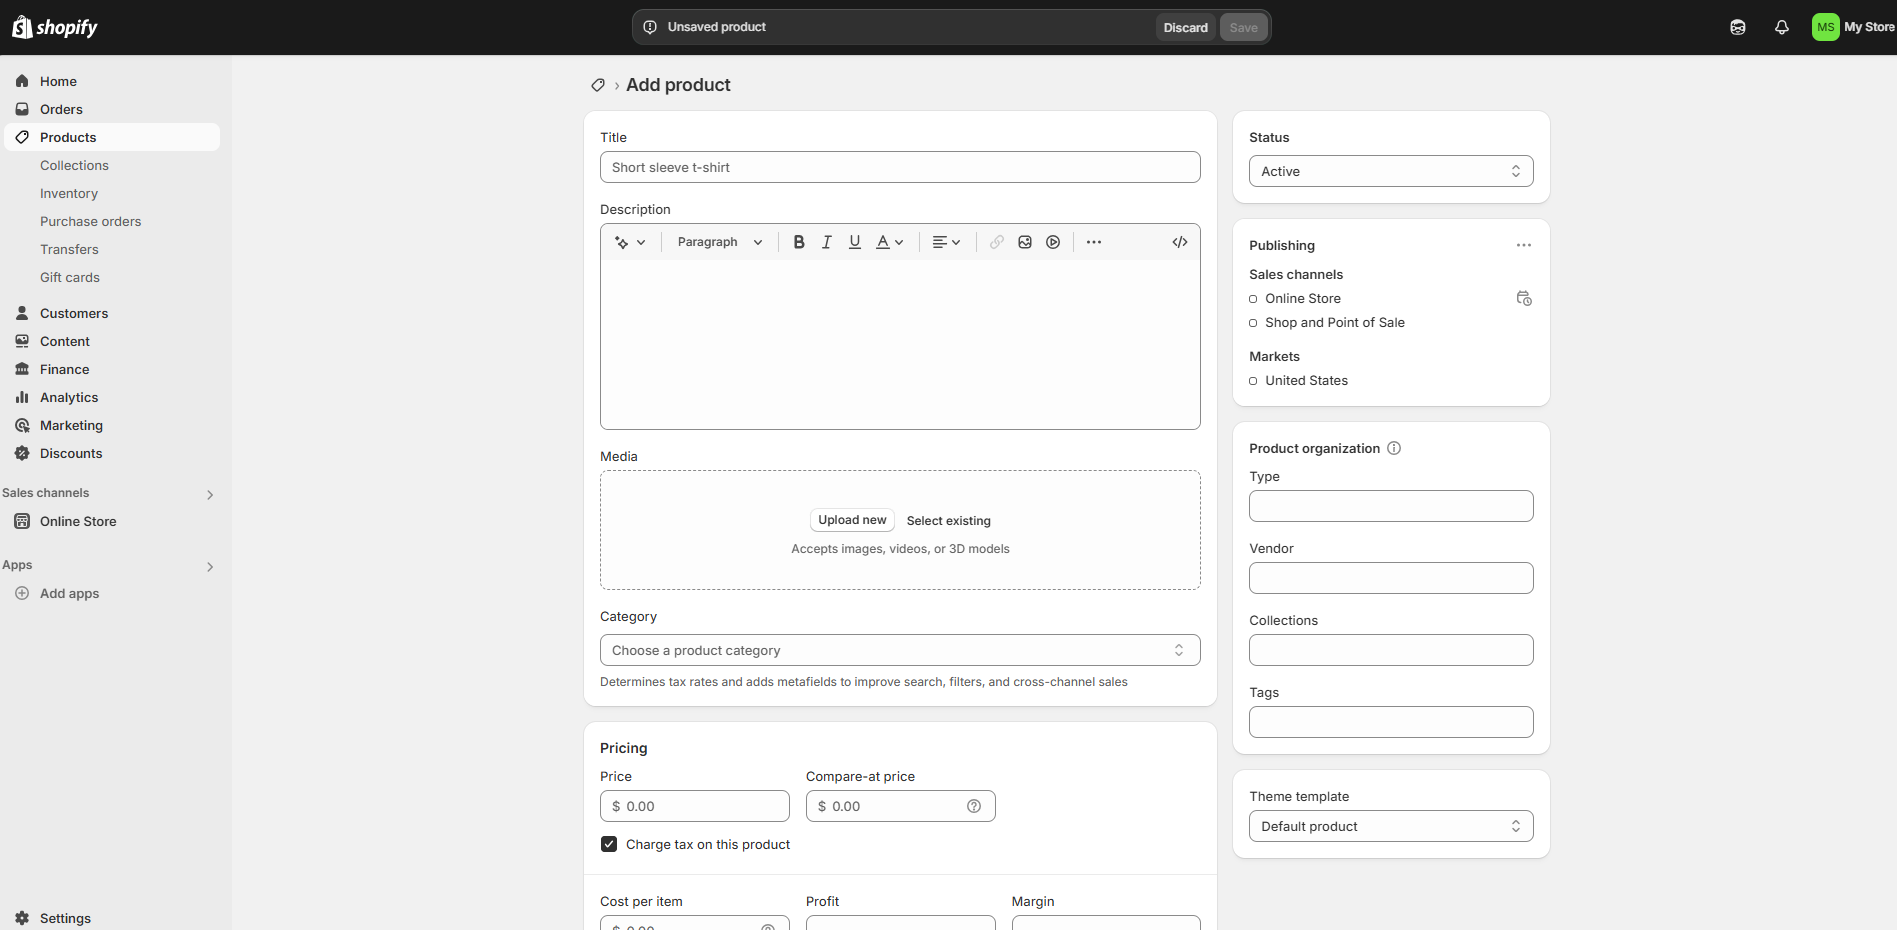
To add a new product to your Shopify store:
- From your Shopify admin, go to Products → All Products
- Click the "Add product" button
- Fill in the following details:
- Title: Your product's name
- Description: Detailed information about features, benefits, and specifications
- Media: Upload high-quality product images or videos
- Pricing: Regular price, compare-at price (for sales), cost per item
- Inventory: SKU, barcode, quantity tracking
- Shipping: Weight, customs information
- Variants: Options like sizes, colors, materials
- Search engine listing: Custom meta title, description for SEO
- Click "Save" when complete
Creating Product Variants
If your product comes in different options (like sizes or colors):
- In the Variants section of the product page, click "Add options"
- Enter the option name (e.g., "Size", "Color", "Material")
- Enter the option values separated by commas (e.g., "Small, Medium, Large")
- Add up to 3 options per product
- Shopify will generate all possible combinations
- For each variant, you can set a unique:
- Price
- SKU
- Barcode
- Inventory quantity
- Weight
Pro Tip
Use a consistent naming convention for your SKUs to make inventory management easier. For example, BLU-TSHIRT-S for a blue t-shirt in size small.
Optimizing Product Images
High-quality product images significantly impact conversion rates:
- Use images with a clean, white background for consistency
- Show products from multiple angles
- Include lifestyle images showing the product in use
- For clothing, consider showing it on a model
- Keep image dimensions consistent (ideally 2048 x 2048 pixels)
- Optimize file size for fast loading without sacrificing quality
- Use descriptive file names that include keywords
Writing Effective Product Descriptions
Great product descriptions convert browsers into buyers:
- Use short paragraphs and bullet points
- Include headers and subheaders
- Bold key selling points
- Break information into scannable sections
- Don't just list features; explain how they benefit the customer
- Address pain points your product solves
- Use emotional language that helps customers imagine owning the product
- Dimensions and specifications
- Materials used
- Care instructions
- Warranty information
- Compatibility details (if applicable)
Organizing Products with Collections
Collections help customers find products by grouping them logically:
- Go to Products → Collections
- Click "Create collection"
- Enter a title and description for your collection
- Choose between:
- Manual collection: You add products individually
- Automated collection: Products are added automatically based on conditions you set (tags, price, vendor, etc.)
- Set collection image and SEO details
- Click "Save"

Bulk Product Import
If you have many products, use the bulk import feature:
- Go to Products → All Products
- Click "Import" button
- Download the CSV template
- Fill in your product details following the template format
- Upload your completed CSV file
- Review and confirm the import
Important Note
Always double-check your CSV file before importing. Errors in formatting can cause problems with your product data.
Step 5: Setting Up Payment Methods
Accepting payments is essential for your e-commerce business. Shopify offers multiple payment options to ensure customers can pay in their preferred way.
Shopify Payments (Recommended)
Shopify Payments is the simplest way to accept payments and is available in many countries:
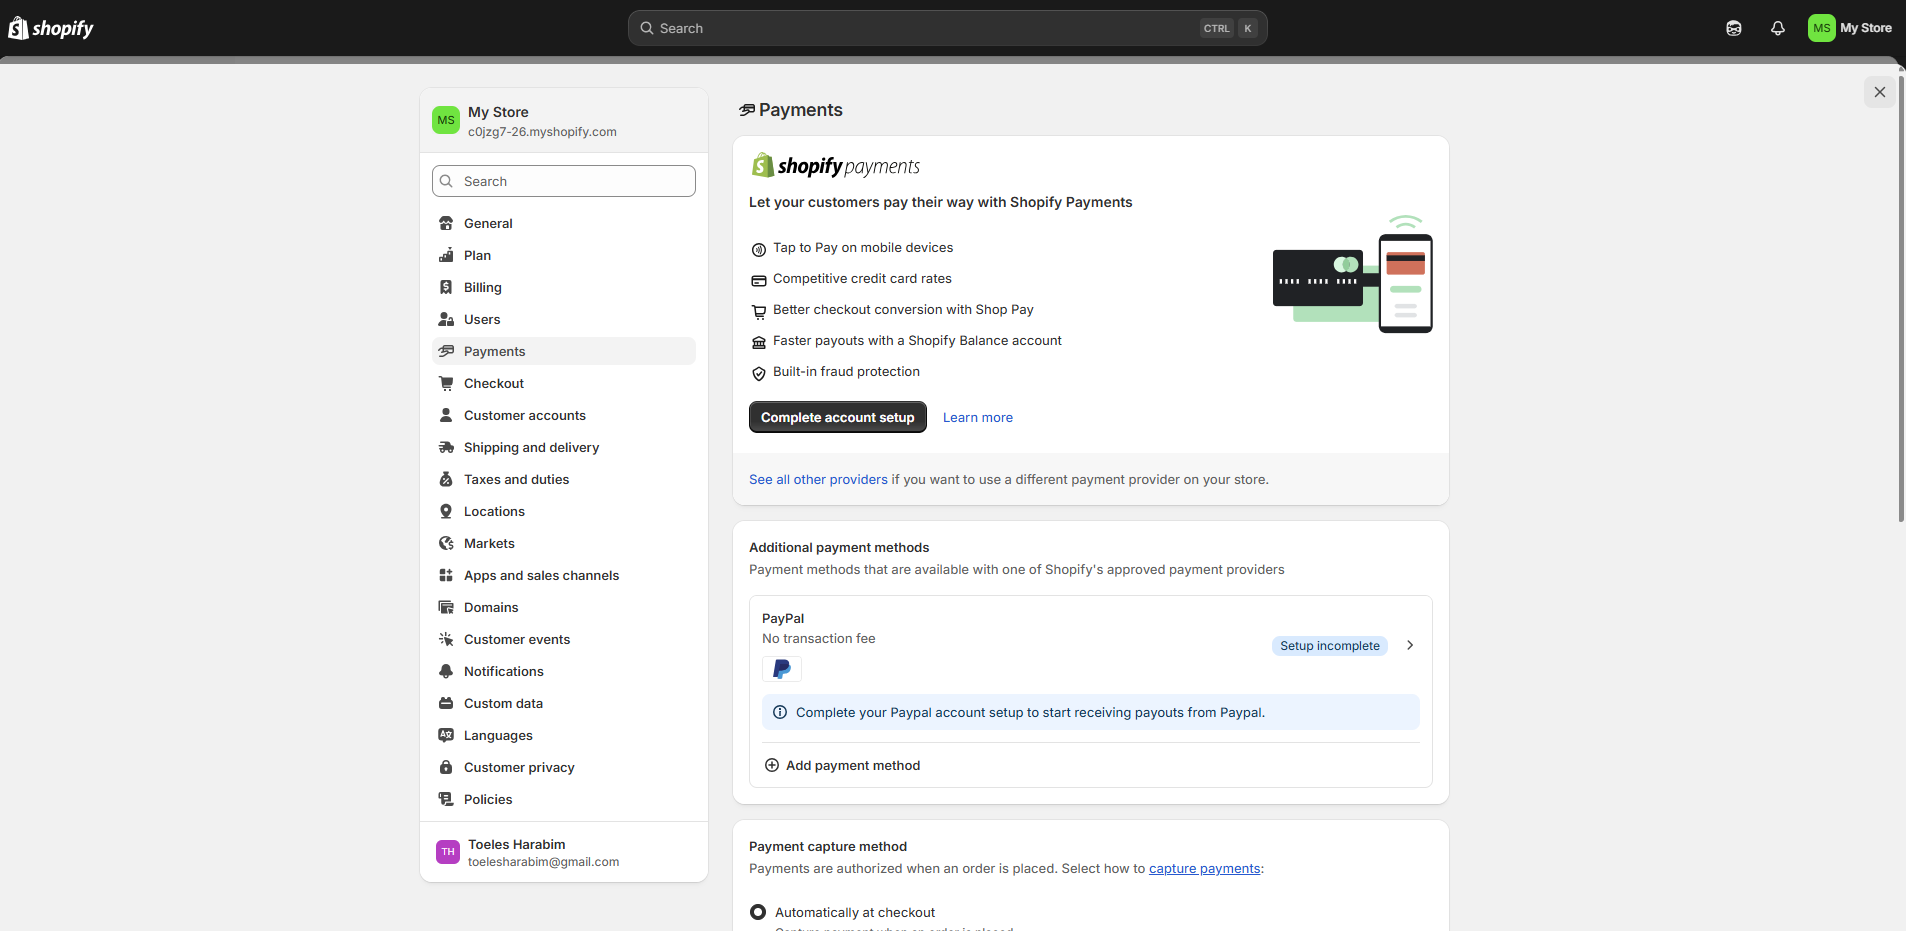
- Go to Settings → Payments
- Click "Activate Shopify Payments" or "Complete account setup"
- Enter your business and banking information:
- Business type and address
- Personal information of business owner
- Tax ID number
- Bank account details for deposits
- Set your credit card settings:
- Capture payment automatically or manually
- Choose which credit cards to accept
- Enable 3D Secure checkout (recommended for security)
Pro Tip
Using Shopify Payments eliminates the additional transaction fees that Shopify charges when using third-party payment providers.
Alternative Payment Methods
To maximize conversions, consider offering multiple payment options:
- Go to Settings → Payments
- Under "Alternative payment methods," find PayPal
- Click "Activate" or "Manage"
- Connect your existing PayPal account or create a new one
- Follow the prompts to complete setup
- Go to Settings → Payments
- Under "Alternative payment methods," find Amazon Pay
- Click "Activate" or "Add payment method"
- Follow the instructions to connect your Amazon Pay merchant account
These are automatically available when using Shopify Payments:
- Go to Settings → Payments → Shopify Payments
- Under "Accelerated checkouts," enable Apple Pay and Google Pay
- For Apple Pay, you may need to verify your domain
Setting Up Manual Payment Methods
For specific business needs, you might want to offer manual payment options:
- Go to Settings → Payments
- Scroll to "Manual payment methods"
- Click "Add manual payment method"
- Choose from options like:
- Cash on delivery
- Bank deposit
- Money order
- Custom payment method
- Enter the details and instructions for customers
- Click "Activate"
Tax Settings
Proper tax configuration is crucial for legal compliance:
- Go to Settings → Taxes
- For each country where you sell:
- Set whether prices include or exclude tax
- Configure tax rates for different regions
- Set up tax exemptions if applicable
- Consider using Shopify's automatic tax calculations
- For the US, set up state tax rates or use automatic calculations
- For EU sales, set up VAT collection
- Consider tax apps for complex scenarios
Important Note
Tax regulations vary significantly by location. Consider consulting with a tax professional to ensure you're compliant with all jurisdictions where you sell.
Step 6: Setting Up Shipping
Shipping configuration affects your profit margins and customer satisfaction. Shopify provides powerful tools to create and manage your shipping strategy.
Understanding Shipping Zones
Shipping zones define where you ship to and at what rates:
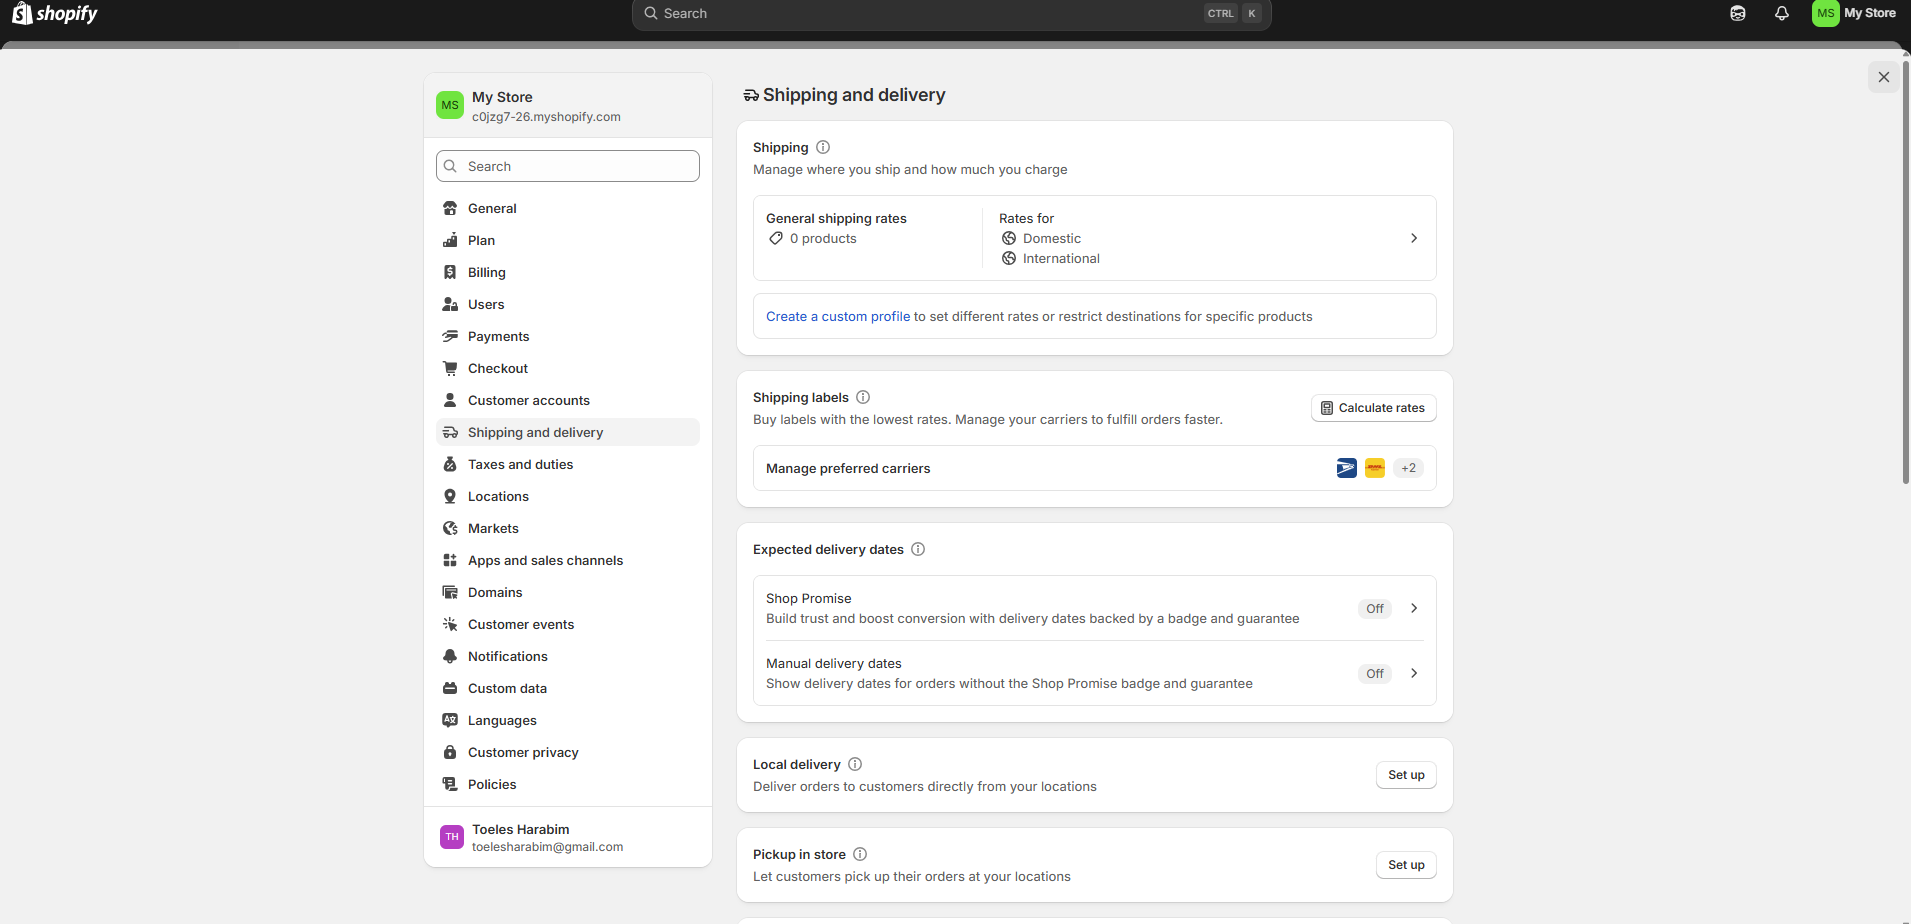
- Go to Settings → Shipping and delivery
- You'll see shipping profiles with default zones
- For each zone, you can create multiple shipping rates
- Click on a zone to edit or add shipping rates
Creating Shipping Rates
For each shipping zone, you can set up various rate types:
Charge different rates based on order total:
- Free shipping over a certain amount
- Tiered shipping costs (e.g., $5 for orders under $50, $10 for orders $50-$100)
- Good for incentivizing larger orders
Charge based on order weight:
- Set weight ranges and corresponding rates
- Ensures heavier packages have appropriate shipping costs
- Requires accurate product weights
Real-time quotes from shipping carriers:
- Connects with carriers like USPS, UPS, FedEx, DHL
- Requires Shopify Shipping or carrier-calculated shipping setup
- Shows customers real-time shipping options and prices
- Needs accurate product dimensions and weights
Simple fixed rate for all orders:
- Easiest to set up
- Predictable for customers
- May not accurately reflect actual shipping costs
Setting Up Local Delivery
If you offer delivery in your local area:
- Go to Settings → Shipping and delivery
- Click "Add rate" under your local shipping zone
- Select "Local delivery"
- Set your:
- Delivery area (by postal/zip codes or radius)
- Delivery fee
- Minimum order value (optional)
- Delivery instructions
- Save your settings
Setting Up Local Pickup
For customers who prefer to pick up orders from your location:
- Go to Settings → Shipping and delivery
- Click "Add pickup location"
- Enter your pickup location details:
- Address
- Business hours
- Pickup instructions
- Contact information
- Choose whether to charge for pickup
- Save your settings
Pro Tip
Offering both free shipping over a certain threshold and local pickup options can significantly increase conversion rates by giving customers flexible options.
Advanced Shipping Solutions
For more complex shipping needs, consider these options:
- Shopify Shipping: Print labels and get discounted rates with major carriers
- Shipping apps: Find specialized apps in the Shopify App Store for features like:
- International shipping with duties calculation
- Advanced drop-shipping integration
- Specialty carrier integration
- Shipping insurance
- Fulfillment services: Connect with third-party fulfillment providers
Important Note
Always communicate your shipping policies clearly to customers. Include estimated delivery times, tracking information availability, and any restrictions on your shipping policy page.
Step 7: Launching Your Shopify Store
Before making your store public, perform thorough checks to ensure everything works properly and presents a professional image to customers.
Pre-Launch Checklist
Use this checklist to ensure your store is ready for launch:
Testing Your Store
Before going live, thoroughly test your store's functionality:
- Place a test order:
- Use Shopify's test payment gateway or enable test mode
- Complete the entire checkout process
- Verify order confirmation emails
- Check order processing in your admin
- Mobile testing:
- Test navigation on different mobile devices
- Verify images load properly
- Check text readability
- Complete a test purchase on mobile
- Browser testing:
- Test store in different browsers (Chrome, Firefox, Safari, Edge)
- Check load times and performance
Pro Tip
Ask friends or family to test your store and provide feedback before launch. Fresh eyes often catch issues you might miss.
Selecting a Paid Plan
Before launch, you'll need to select a Shopify plan:
- Go to Settings → Plan and permissions
- Review available plans and features
- Select the plan that best fits your business needs
- Enter payment information
- Complete plan purchase
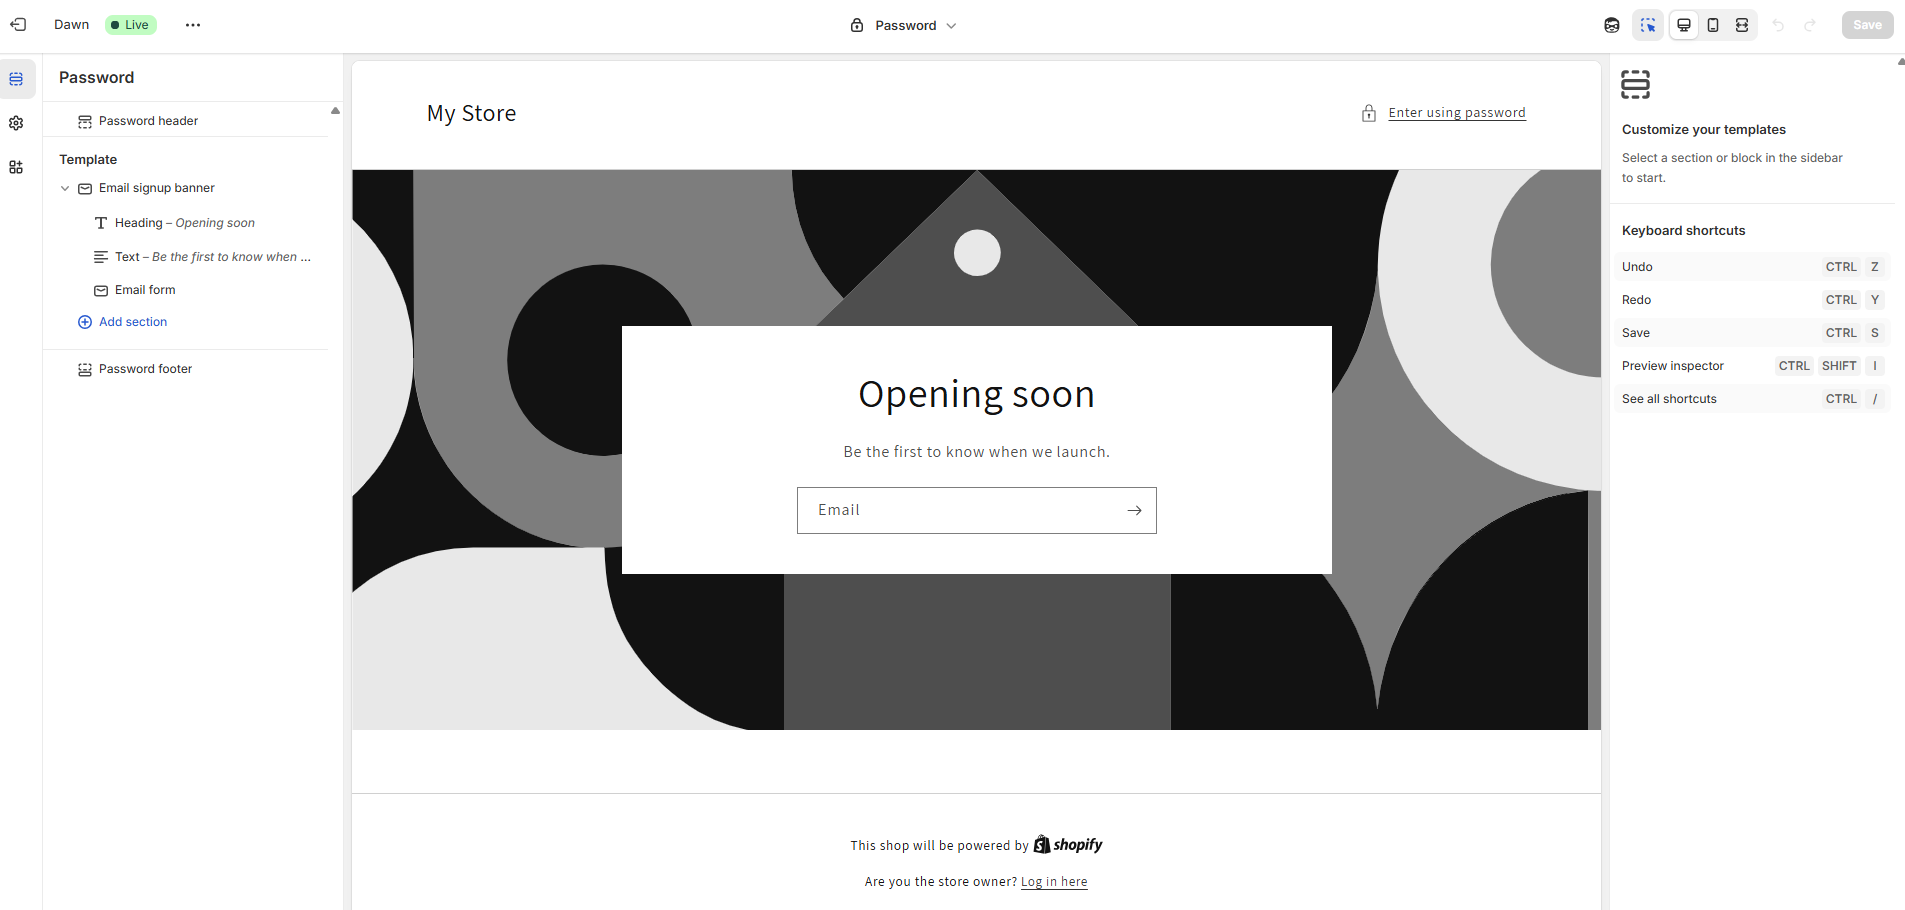
Removing Password Protection
During setup, your store is protected by a password. To make it public:
- Go to Online Store → Preferences
- In the "Password protection" section, uncheck "Enable password"
- Click "Save"
Important Note
Only remove password protection when you're completely ready to launch. Once removed, your store will be accessible to the public.
Launching Marketing Campaigns
Consider these marketing strategies to announce your launch:
- Email marketing: Send announcement to your subscriber list
- Social media: Post announcements across your social platforms
- Launch promotion: Offer a discount code for first-time customers
- Paid advertising: Consider Google Ads or social media ads
- Content marketing: Blog posts about your products or launch
Step 8: Next Steps and Resources
Congratulations on launching your Shopify store! Now it's time to grow your business and optimize your operations.
Post-Launch Optimization
After launching, focus on these areas to improve your store:
- Optimize product titles and descriptions with relevant keywords
- Create unique meta descriptions for collections and pages
- Set up proper URL structures
- Create a blog with relevant content
- Build backlinks to your store
- Consider SEO apps from the Shopify App Store
- Email marketing campaigns
- Social media marketing
- Influencer partnerships
- Google and Facebook ads
- Loyalty programs
- Referral programs
- Retargeting abandoned carts
- A/B test different product page layouts
- Optimize checkout process
- Add customer reviews and testimonials
- Implement upsells and cross-sells
- Improve site navigation and search functionality
- Optimize for mobile users
- Use high-quality product images and videos
- Set up automated email responses
- Create a comprehensive FAQ section
- Offer live chat support
- Develop a clear return policy
- Train staff on customer service best practices
- Collect and implement customer feedback
- Set up Google Analytics for your store
- Monitor key metrics like conversion rate and average order value
- Track traffic sources and customer behavior
- Analyze product performance
- Use heatmaps to understand user interaction
- Create regular reports to track progress
Recommended Resources
Learning Resources
Essential Tools
- Google Analytics
- Mailchimp or Klaviyoa> for Email Marketing
- Canva for Graphics
- Hootsuite for Social Media Management